| Back to British Rail Home |
Simplex 20/28hp with Cab Numerous of the developments of the Bow Frame Simplex saw the change to a straight frame and later a version with a small cab. A number of these are preserved at such places as the Leighton Buzzard Railway. I thought it would be a nice addition to the fleet and found that TB Models make a 3D printed version available via Shapeways. It is designed to fit on the World Craft Company's TU-14CL super mini sized chassis. So, I ordered both the body and the chassis.
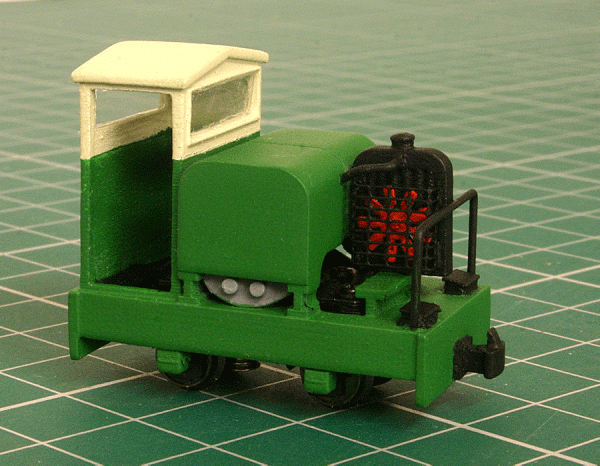
The completed model (awaiting driver)
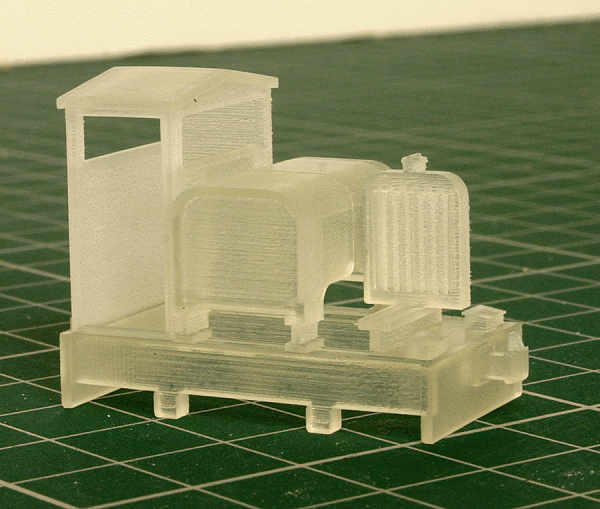
Simplex 20/28hp hauling some ex-WDLR wagons The body is printed in Frosted Ultra Detail and is fairly complete. As usual with 3D printed bodies, a fair bit of fettling will be needed to eradicate the fine ridges left by the printing process. This can be done by repeated sanding and priming until a smooth finish is obtained. Various extra details will have to added such as the front handrail and radiator pipes. I will also add a small radiator fan and guard grill.
The 3D printed body of a 20hp Simplex
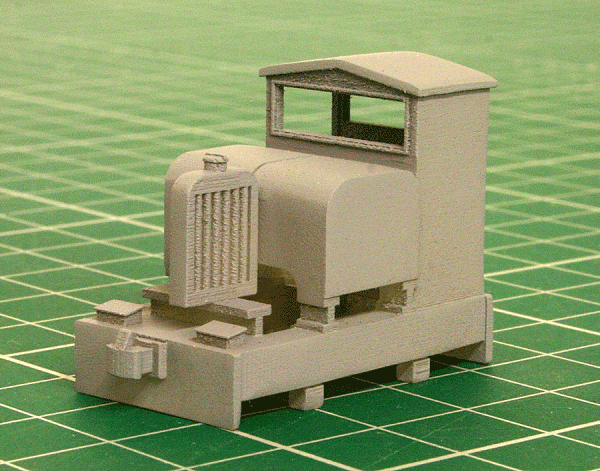
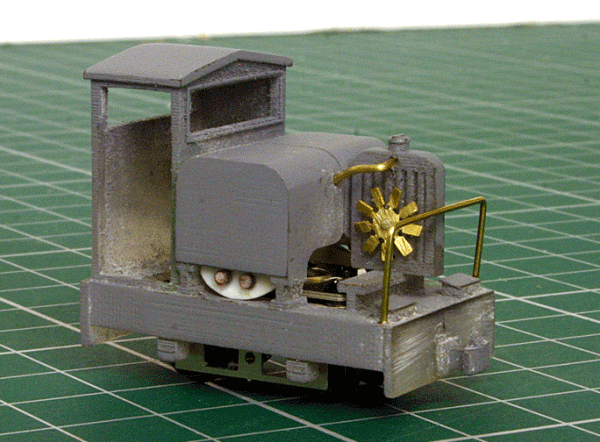
The body has been gone over with some wet and dry to try and smooth out the print lines. Priming with grey primer now reveals what needs to be done and where. Although 'Frosted Ultra Detail' (FUD) produces a better print, its translucent nature makes it difficult to examine the body until it has been primed. The initial result doesn't look too bad and any imperfections are probably shown up more in this photograph. After all, the real model is only 33mm long over the beams!
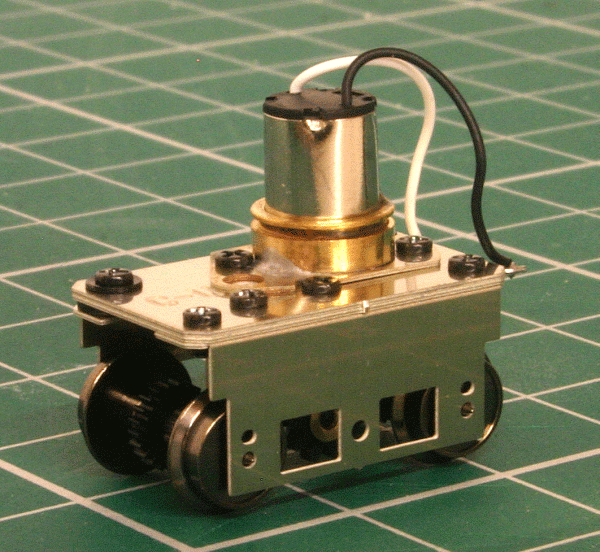
The TU-14CL Chassis
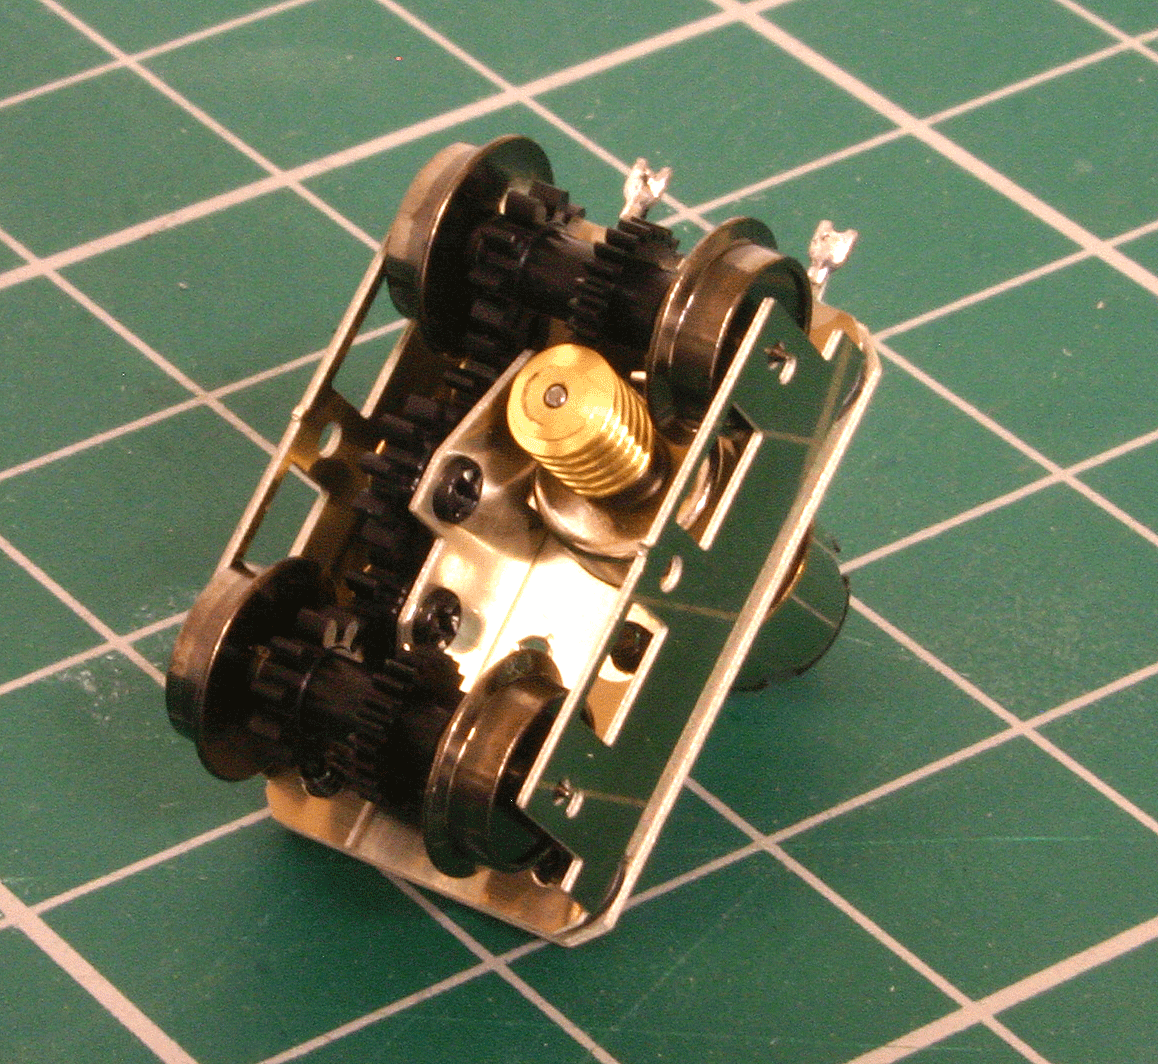
View underneath showing the four wheel drive Having now got the chassis, I was impressed with its small size, good running qualities and the four wheel drive gearing! The body needs a little adjusting to get the chassis to sit inside neatly. One thing I did notice is that that motor sits under the bonnet and does not intrude into the cab area.
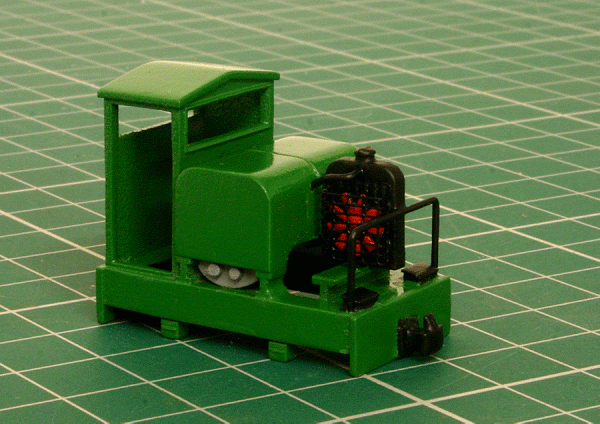
The body with a few extra detailing bits fitted. Some final adjustments are needed, like the front handrail! The fan guard will be fitted after final painting, otherwise I wont be able to paint the fan!
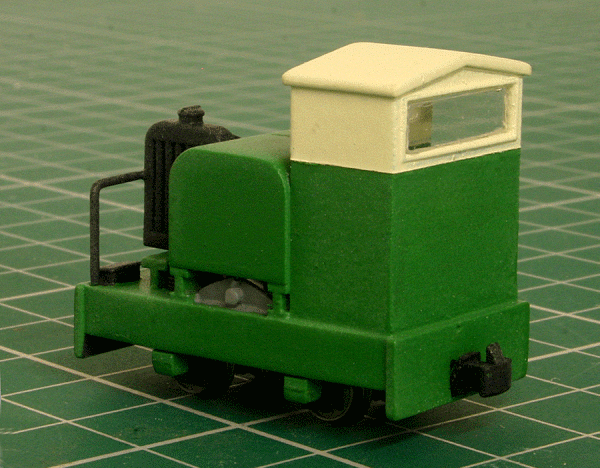
The body painted with Railmatch 632 Malachite Green and almost complete. I the top cab area has been painted off white (Railmatch 203 Rail White). The fan grille has been attached and painted black. The engine/gearbox area has also been picked out in a mid grey. With all the paintwork finished, it was time to varnish the body with a satin finish to tone everything down a bit. Next was a little chassis modification. As I mentioned earlier, I didn't like the 'tie bar' between the axles. So, this was removed, tidied up and painted matt black. The top of the chassis was also painted matt black as this is just visible between the radiator and bonnet. With nearly all the work done, it was time to glaze the windows. This was done by carefully cutting out the correct size rectangles from clear acetate sheet. The windows were fixed into position using Glue'n'Glaze. I like this product for glazing as it hides the odd imperfection and dries clear.
So, that's it! All I need now is a suitable sized sideways seated driver to hide the motor and cab interior. The completed model and a video of it running can be seen at the top of the page.
|
