Steve Johnson Modelmaker
|
|
Barclay
Class 06 0-4-0DM
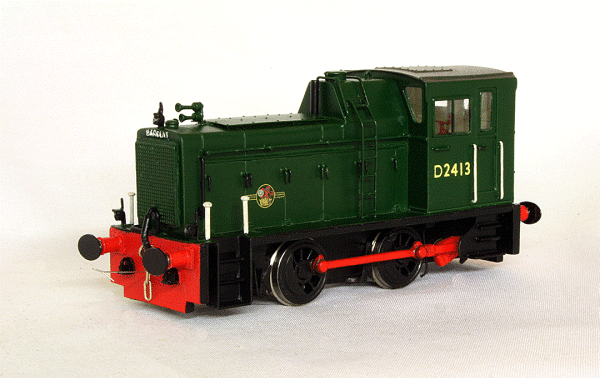
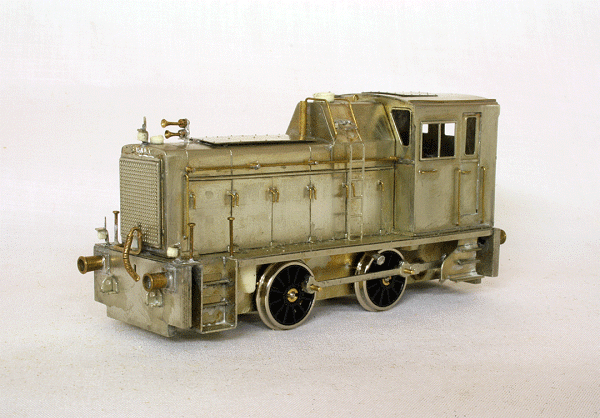
Class 06 Front View The Class 06 shunter was built by Andrew Barclay & Co. of Kilmarnock between 1958 and 1960 for use on the Scottish Region of British Railways. Numbered D2410-D2444, the 0-4-0 followed the usual small shunter practice of being powered by a Gardner 8L3 engine driving a jackshaft via a Wilson-Drewry gearbox, Vulcan-Sinclair fluid coupling and a Wiseman reversing gearbox. Thirty five were built to two slightly different styles. The first 15 had the traditional three small windows on the cab rear. The later 20 had just two large windows. Withdrawals started in 1967, but 10 survived to receive TOPS numbers 06 001-06 010. All but one had been withdrawn by 1981, with 06 003 being transferred to the Departmental Fleet as 97 804 to work at Reading Signal Works, replacing the ageing Ruston & Hornsby 88DS 97 020. Upon the closure of the Signal Works, it was withdrawn in 1984 and sold to Booth's of Rotherham. It was saved for preservation and after a number of owners is now part of the Heritage Shunters Trust's collection at Peak Rail. My take on the Class 06 is the Judith Edge kit. Usually produced in etched brass, my particular kit was produced in Nickel-Silver. Construction is the same for both, if anything, it is a little easier to solder nickel-silver. The frames, footplate and body are made up as separate modules that are bolted together to produce the completed locomotive. There are no particular issues with the kit, everything going together as they should, aided by clear instructions. I decided to build my version as the earlier type with the three rear windows, but the kit does have parts for both types.
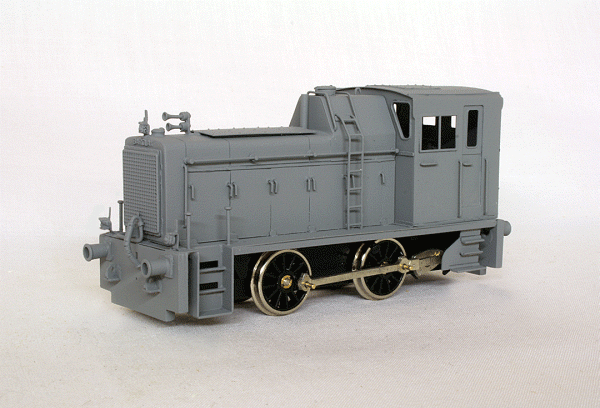
The Judith Edge kit assembled and awaiting primer Motorising the model presented a different challenge. When I came to build this kit, Mashima motors were no longer available. However, High Level Kits have produced a suitable replacement, the 1020FE, that fits directly into their gearboxes, the mounting holes being the same. A Roadrunner gearbox was chosen with a 60:1 ratio. Wheels were from Scalelink and buffers are Gibson 4903. The axles and crankpins are Romford. The Gibson buffers are of course round, whereas the Class 06 has oval buffers. The kit provides some oval head etched overlays that are glued onto the Gibson heads. I then run the tails of the buffers in some 1mm 'U' section brass channel to stop them from rotating.
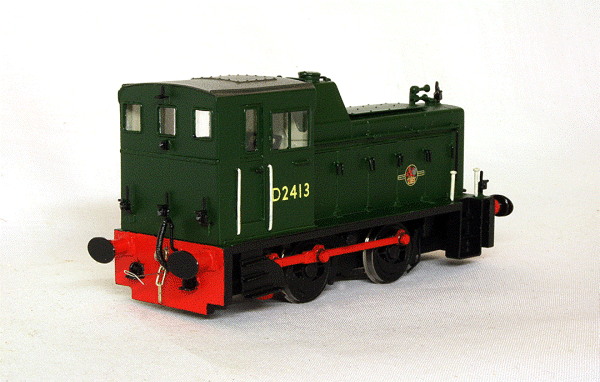
Class 06 primed and ready for painting Upon completion and testing of the chassis, I found the Scalelink wheels problematic, despite using them successfully on other projects. A couple seemed eccentric and another wobbled badly. I tried to correct this, but to no avail. I decided to replace them with the recommended Romford 14mm Barclay style wheels. This solved the problem. For my chosen livery, painting is quite straightforward. The body is BR Locomotive Green, the buffer beams are BR Buffer Beam Red and the cab roof is mid grey. The frame and steps are black with the coupling rods and flycrank picked out in red. The front step handrails and cab handrails are white. I used Halfords Rover Brooklands Green for the body, Halfords Volkswagen Mars Red for the beams and Halfords Dark Grey plastic bumper paint for the cab roof. Phoenix Paints black and white were used for the other details. Transfers proved to be a little trickier than I thought. The late BR Crest, in left and right hand versions, were Fox Transfers. The numbers were a bit more difficult. Is 'as built' livery, 8 inch off white steam type numerals were used, along with a matching sans serif 'D'. Although Fox Transfers supply this pattern numbers and 'D', they don't match. The 'D' is a slightly heavier weight font and and height. The difference is quite noticeable. As a result, I removed them and tried to find some suitable, matching transfers. In the end, I found that HMRS produce a suitable transfer sheet. These are available in two types, the Pressfix and Methfix type. I chose the Methfix type as this allows for some minor alterations to line everything up before they set. The cab interior was painted cream with the control desk and air tanks both black. The handbrake column was picked out in red. Other minor body details were painted before the body was varnished with Phoenix Paints Satin Varnish. When dry, a pre-wired SMD LED was fitted to the cab roof as a cab light. When secured, the windows were glazed with acetate. The Class 06, as mentioned, has oval buffers and the kit provides four buffer head etches to be glued to the Gibson round buffers. This done, they could be fitted, with the tails turned up to run in the 'U' shaped brass channel section behind the beams to stop them from rotating. Well, this was the idea, but I found there was insufficient clearance behind the front buffer beam. The tail fouled the front steps and there was no room to fit the 'U' section channel. In the end, I abandoned this idea and just glued them into the shanks as fixed buffers. As usual with my models, Alex Jackson couplings were fitted front and rear. All that remains is the small oval works plate to be fitted above the number.
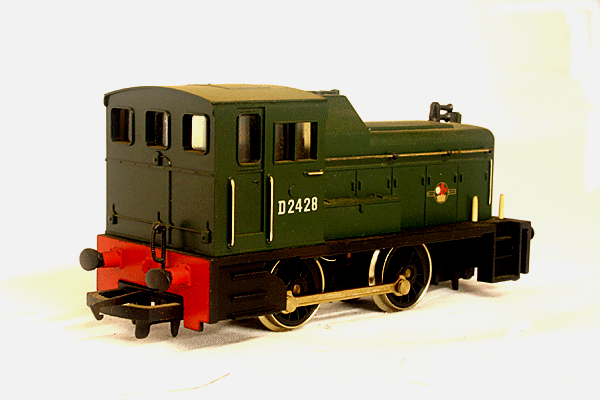
Class 06 Rear View Attention now turned to the chassis, which had been suitably run in. A DCC decoder was fitted between the frames. My favourite for this type of application is the Digitrax DZ126. The wires were trimmed back to fit with the blue and white being connected to the cab light. In order for this to work correctly, a little bit of remapping and configuration was needed to get f1 to turn the light on and off in either direction. Quite easy with JMRI Decoder Pro.
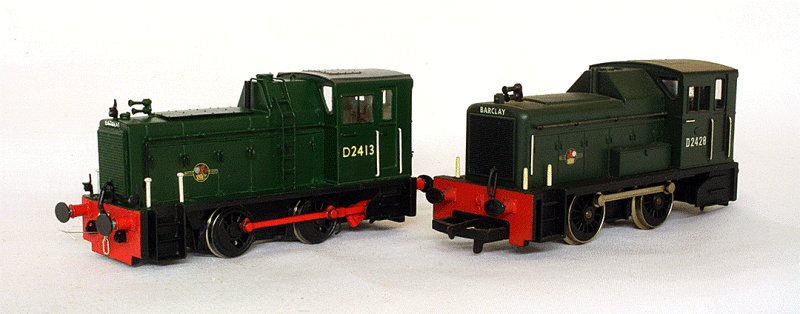
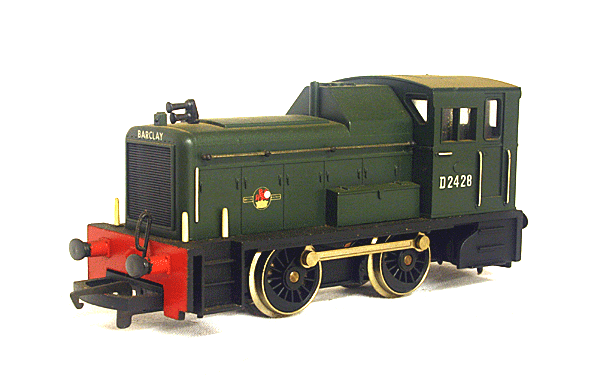
Hornby have produced a Class 06 for many years in a variety of liveries. At the time, it was the best we could hope for, but really does show its age now and is only available in Hornby's Railroad range. Although some people have modified it to produce a more realistic looking locomotive, it requires a lot of work.
Class 06's - Judith Edge left and Hornby right
The Hornby Class 06
|
